 Skip to content
How to Make a Dr. Seuss Hat | TV Store Online
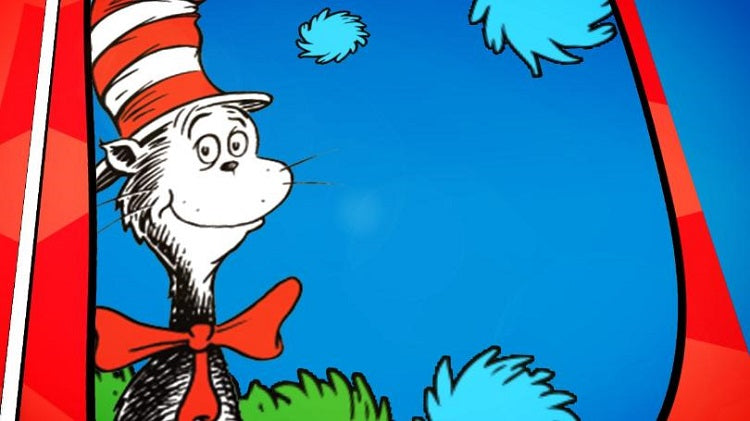
Today we are going to talk about how to make a top hat just like the one that Cat wears in The Cat in the Hat.
You will need to gather your materials first:
- Felt pen
- Scissors
- Hot glue and gun
- White felt 36 inches wide 27 inches long
- Red felt of the same measurements as the white
Wrap the white piece of felt around your head to see how much you will need and mark the point on the felt. Cut lengthwise down the felt from the point you marked.
Next you will need to use the hot glue gun and glue to glue the felt together at the point where you marked it. This should make a cylindrical shape.
Now you need to stand the white cylinder up on top of the red felt. Mark a circle inside the white felt on the red felt and then make another circle about two inches outside of that one.
Cut around the larger circle you made in the red felt. You should now have a circle of red felt with a smaller circle drawn in the middle of it. Cut the smaller circle out.
Glue the red doughnut shape to the bottom of the cylinder to make the hat’s brim.
Glue the smaller circle to the top.
With the rest of the red felt, cut strips and wrap them around the cylinder part to make the red stripes.
Now you can pretend to be the Cat in the Hat! Dr. Seuss would be proud!
If you like Dr. Seuss, check out our Dr. Seuss T-Shirts, Costumes and Merchandise!